So I talked about switching to Zed in the previous post. I’m obsessed with it these days, and still trying to set things up the way it suits me so I thought I should share the experience so you can set it up the way you want too.
Basic UI
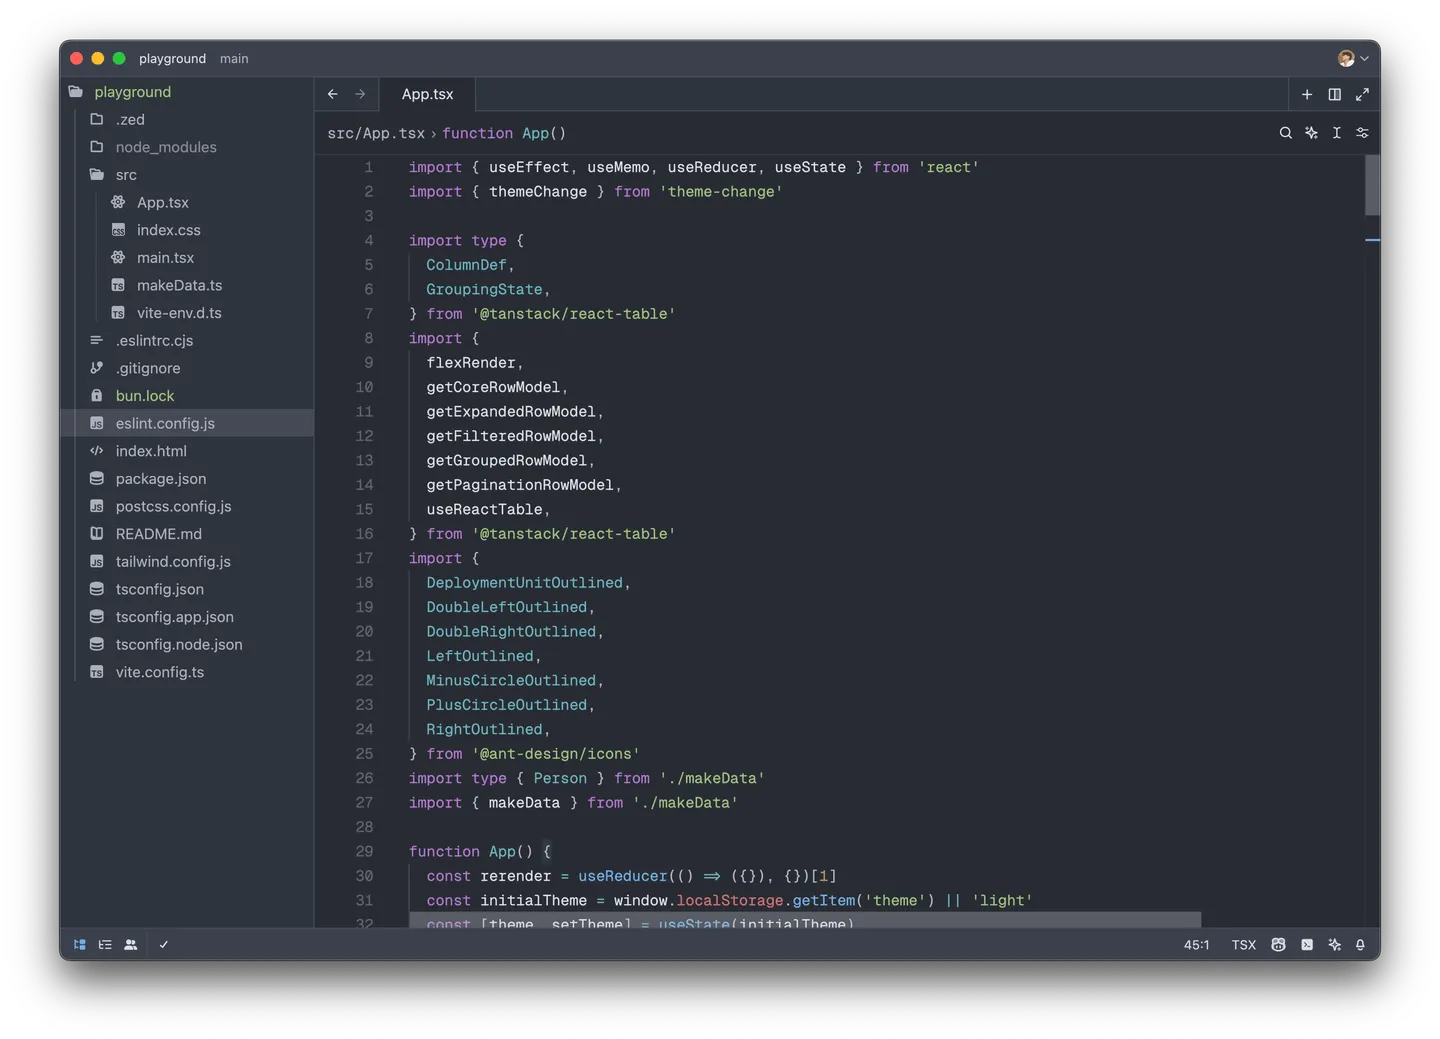
Zed’s main UI
As you can see, Zed’s UI is quite simple. It reminds me of rxi’s Lite Editor but not as extreme 😅. So it’s not hard to get used to. But if you’re used to GUI, you might find Zed a bit overwhelming, and might have some moments wonder where something is at. But don’t worry, it’s just a matter of time to get used to it.
Zed does not have a GUI for settings, so you will have to rely on a JSON file for all the configurations. You can open it by pressing Cmd + , on macOS or Ctrl + , on Windows/Linux. You might don’t know where to start so it good to take a look at the official docs on configuration. For me, I started with some configurations as below:
{ "ui_font_size": 16, "ui_font_family": ".SystemUIFont", "buffer_font_size": 14, "buffer_font_family": "Geist Mono", "theme": { "mode": "system", "light": "One Dark", "dark": "One Dark" }, "tabs": { "close_position": "left" }, "terminal": { "toolbar": { "breadcrumbs": false } }}Basically those are just configuration on the UI/editor fonts, themes, tabs’ button position, and terminal toolbar behavior:
- For the UI, I use the
.SystemUIFontinstead of Zed’s default. For the editor (buffer), the font family is set to Geist Mono which is a monospace font I like a lot. You can find it at the font family’s main site. - Zed has a decent amount of themes and with extension support is are already there, soon there will be more, but I found myself quite happy with the default one, One Dark. You can even configure different color theme for each mode so it can match with the system.
- For the close tab button position, I’ve set it to the left on macOS and the right on Windows just for the sake of consistency 👀.
- Finally, I disable the breadcrumbs part in the terminal UI since I have no use of it.
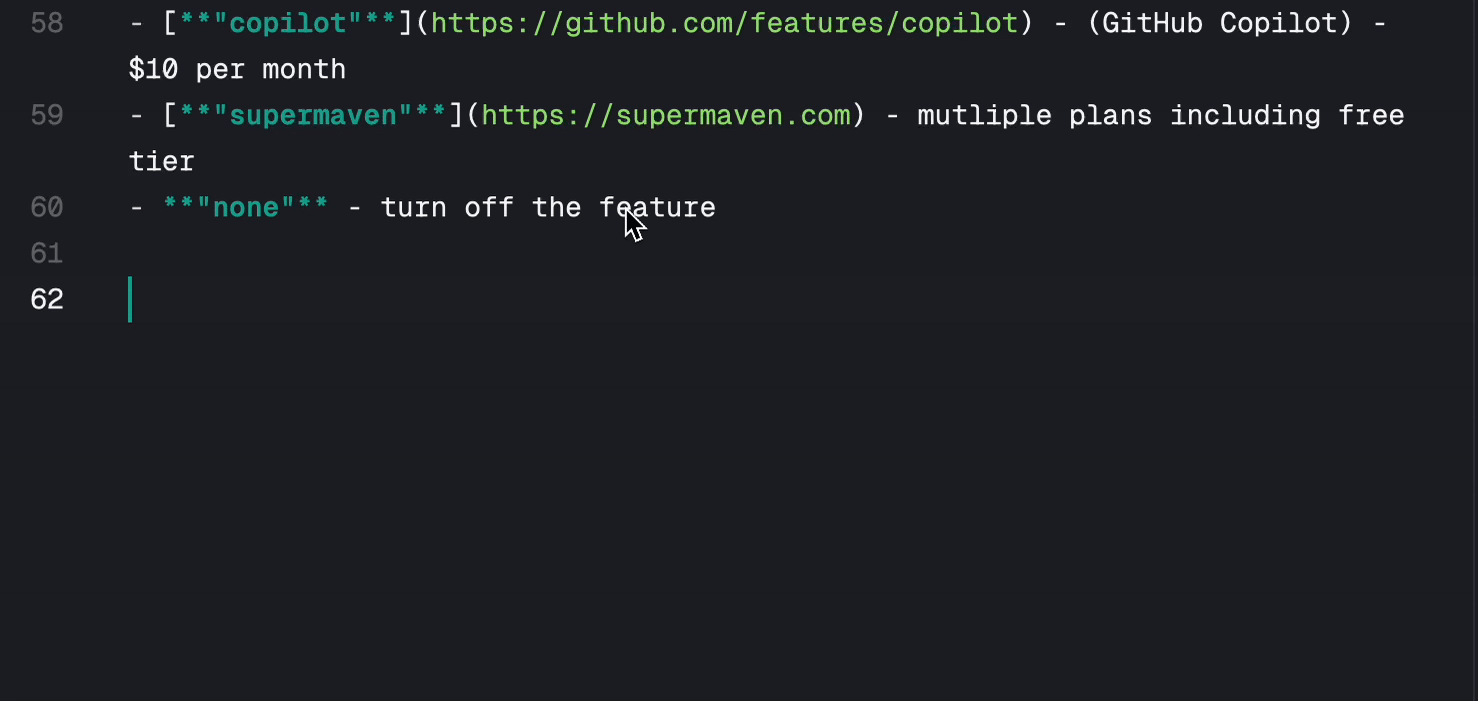
For other advanced configuration that you can’t find in the docs, you could take a look at Zed’s Default Settings for reference by opening the command pallette with Cmd/Ctrl + Shift + P and search for zed: open default settings.
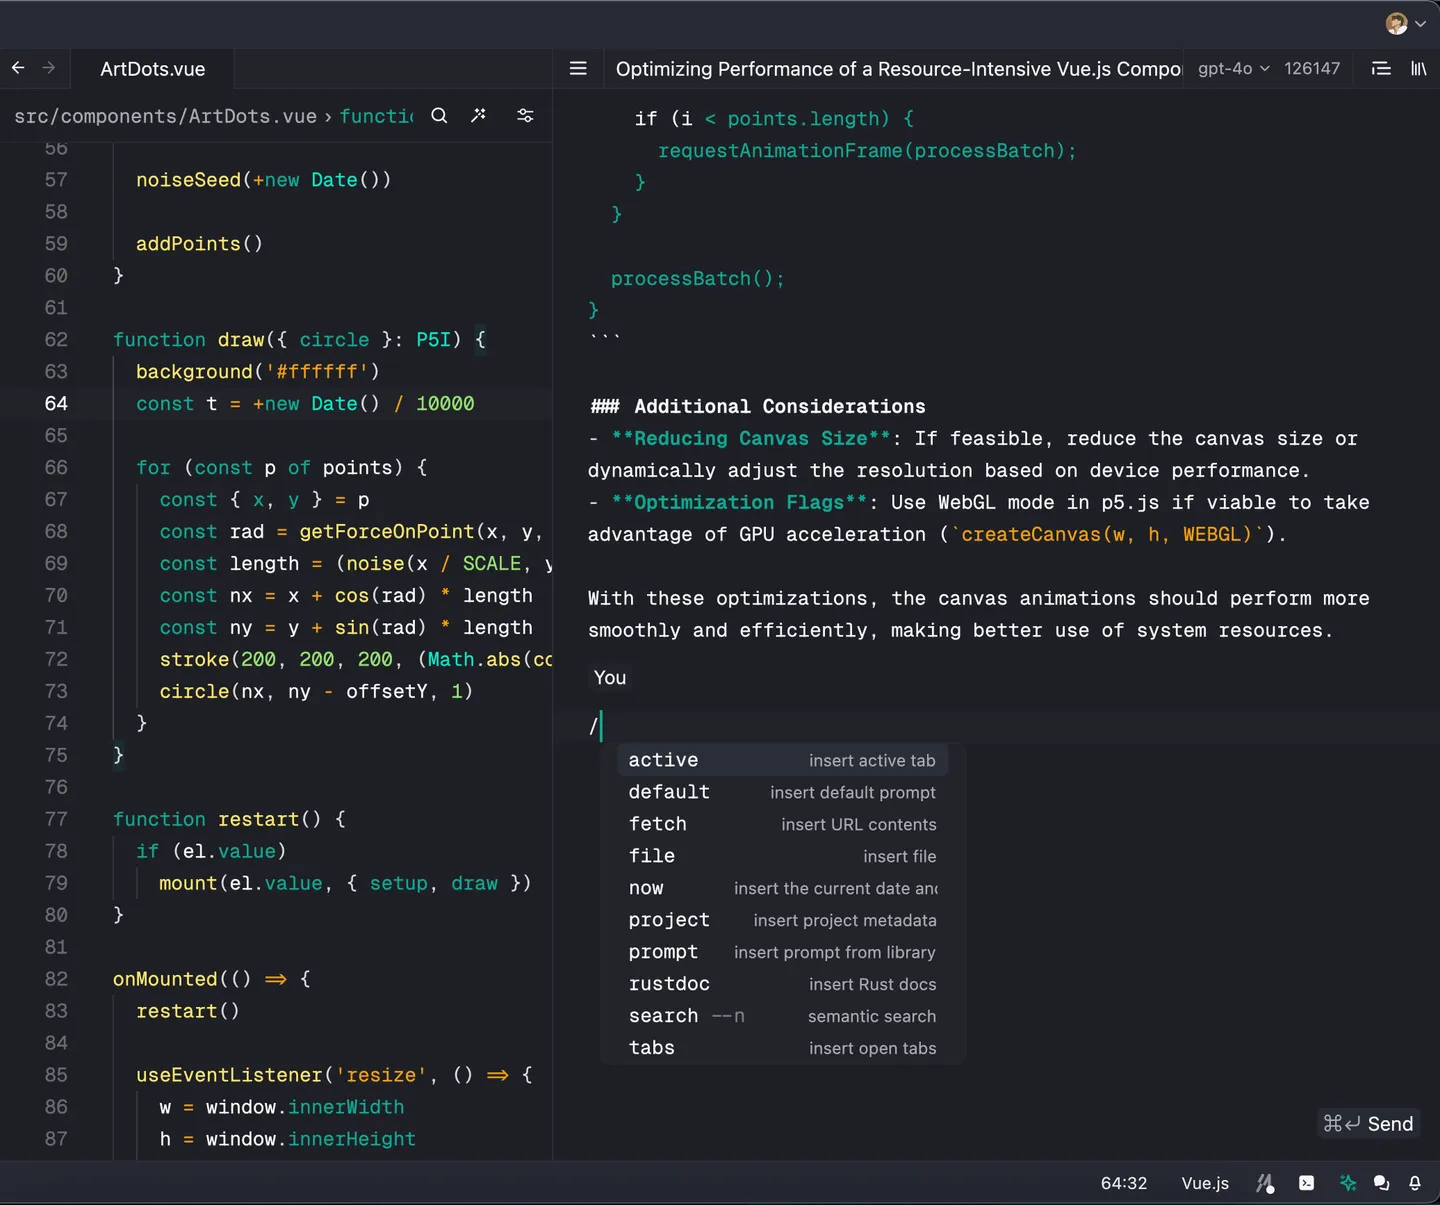
AI features
Zed has a few AI features built-in that I used to see it in a bad way. At the time, instead of being an extension or subtle feature, these features was shown up in main UI by default, and because it was a 3rd-party service, and you didn’t have much choice about it. But that was the past, now Zed has more than one services for each AI features so that you can choose which one works the best for you, either self-hosted (local) or cloud-based.
The team improves the support on this in a rapid rate so it’s hard to keep up in a blog, it’s best for you take a look at the docs on Assistant features. Below is how the features in actions:
Inline completion
Assistant
Agentic Editing
With the new recent update, Zed has a new feature called Agentic Editing. You can check out my dedicated post on this feature here.
Conclusion
So that’s pretty much it for now. Based on your needs and preferences, you can configure Zed to suit your workflow. If you have any questions or need further assistance, feel free to reach out to me. Happy coding!