Cloudflare Pages is a new player in the JAMstack world, alongside Netlify and Vercel. Despite being a newcomer, Cloudflare is a well-known name, so many people are starting to shift to this Cloudflare service. Cloudflare Pages offers numerous advantages that many consider, but there are also aspects you need to adjust and configure to achieve your desired outcomes. One of these aspects is redirects.
The issue
Cloudflare Pages supports redirect functionality through the _redirects file, similar to Netlify. You can create a file like this:
/articles/* /blog/:splat 301This rule redirects all your blog links from the form /articles/... to /blog/.... You can read more about this in the Cloudflare documentation. However, this rule only works at the subpath level, and you can’t accomplish the two scenarios I’m about to guide you through using this _redirects file.
Redirect from *.pages.dev to Your Custom Domain
Why do this?
When you deploy your project on Cloudflare Pages, the initial domain address you’ll have is in the form of *.pages.dev. Later, you can assign a custom domain to your site via the dashboard. Once you’ve set up a custom domain, the page at *.pages.dev still exists separately. If you want to unify your website’s address, you need to set up a redirect for it.
Steps
-
Log in to the Cloudflare dashboard and select your account.
-
Choose Workers & Pages, then select the Pages project you want.
-
Go to Custom domains and check if your custom domain is listed there. If not, add it by selecting Set up a custom domain.
-
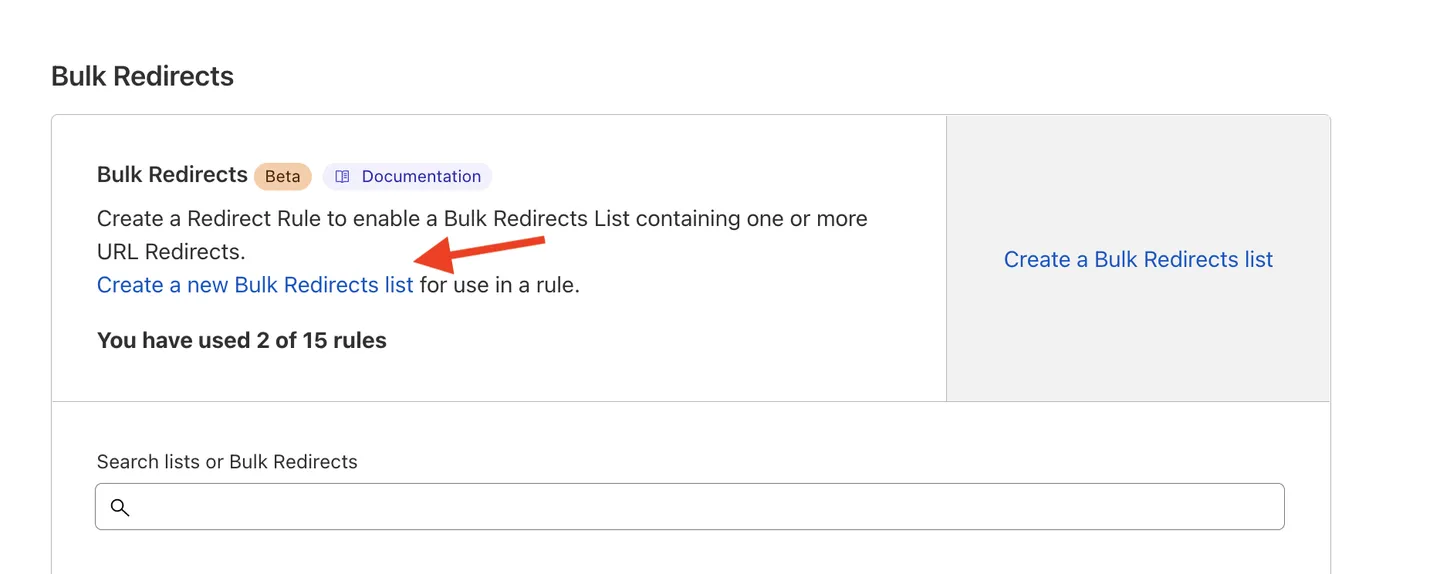
Navigate to Account Home > Bulk Redirects.
-
Choose Create a new Bulk Redirects list > Create new list.
-
In the content type section, select Redirect.
-
Add your project’s
*.pages.devdomain to the source URL. -
Enter the target custom domain URL. Note that you need to prepend
https://before the apex domain name (domain withoutwww). -
Click Edit parameters and check Preserve query string, Subpath matching, Preserve path suffix.
If you check the Include subdomains box, all preview URLs will be redirected to the main custom domain.
- Click Add to list.
- Go back to Bulk Redirects > Create Bulk Redirects > select the list you just created > Save and Deploy.

Redirect from www domain to non-www domain (apex domain)
In some cases, instead of wanting a www.example.com domain, users prefer a shorter domain like ```example.com` in the address bar. Achieving this consistent display is crucial in web development. Typically, services like Netlify or Vercel support this through DNS settings along with visual adjustments in their dashboard. With Cloudflare Pages, you need to set up this feature yourself, using Bulk Redirects, as follows:
-
Log in to the Cloudflare dashboard, select your account and website.
-
Go to the DNS section.
-
Create a new DNS record for the
wwwsubdomain. Either anArecord with a value of192.0.2.1or anAAAArecord with a value of100::. This new record should also be proxied by Cloudflare (orange cloud) to be compatible with the redirect rule we’ll set up.
-
Next, navigate to Account Home > Bulk Redirects and set up a redirect rule similar to the instructions above (you can add additional rules to the list created earlier). Still, check Preserve query string, Subpath matching, Preserve path suffix. Finally, Save and Deploy.

I hope this guide helps you in transitioning to Cloudflare Pages. Cheers!